Connectors: Netsuite
To begin accessing Netsuite data with Mitto, there are a few things that need to be done first.
Download this PDF:
Follow the instructions within the PDF carefully. As you go through the PDF and fill out the sections on each page, the cover page will auto-fill with the data you entered in the subsequent pages.
1. Using the first page on the PDF as a guide, navigate to your Mitto instance. Example: (instance name).zuarbase.net
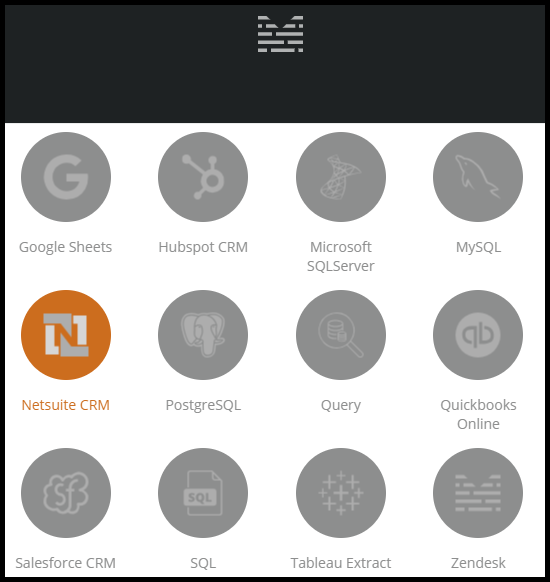
2. Select Add Job at the bottom left of your Mitto page. Select Netsuite CRM on the connector popup that appears.
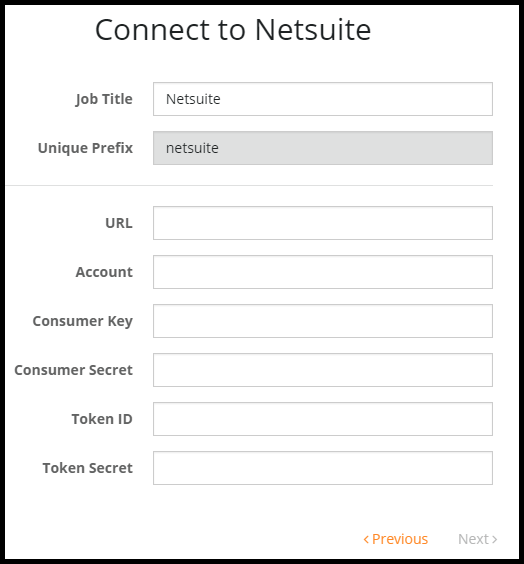
3. Take your PDF that you filled out from above and begin copy and pasting the information you gathered from the PDF onto the Mitto Netsuite connector.
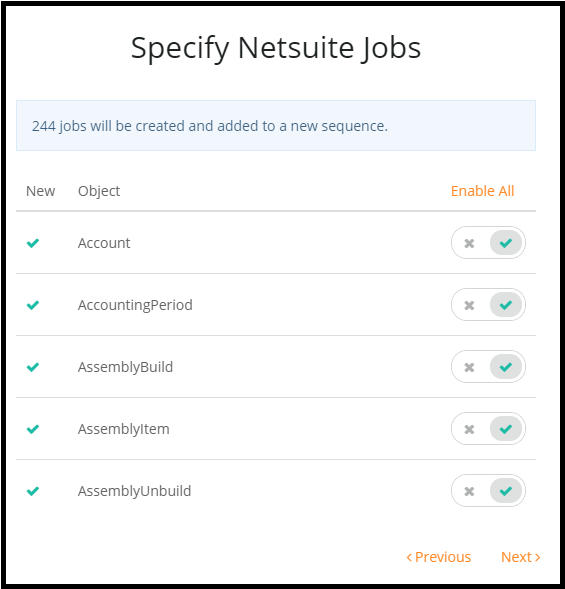
4. After entering this information, select Next. The next page asks you to select which Netsuite Jobs to add to a sequence. You can choose to enable all the jobs or you can disable all to pick and choose which jobs you want to be added. Select Next after you have chosen which jobs you want to add.
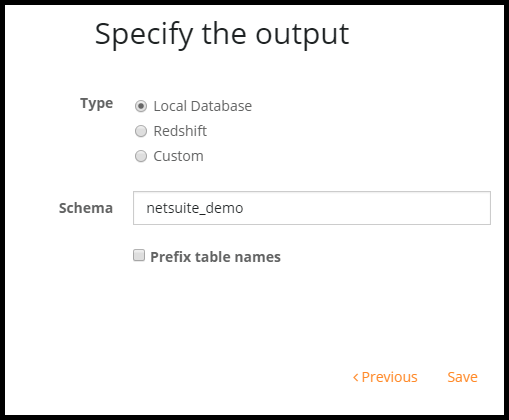
5. On the next screen, specify the output of your data.
- Local Database: Internal Mitto PostgreSQL database
- Custom: Specify the connection string of the destination database
Local database is recommended but you can choose an output of your choice.
After this, click Save.
Congratulations! You have just added Netsuite to Mitto. Next, you will want to schedule your Netsuite job. Learn how to schedule your job here.