Using the Jobs Tab
Need to change every reference of "Job Manager" to "Jobs" and any screenshots
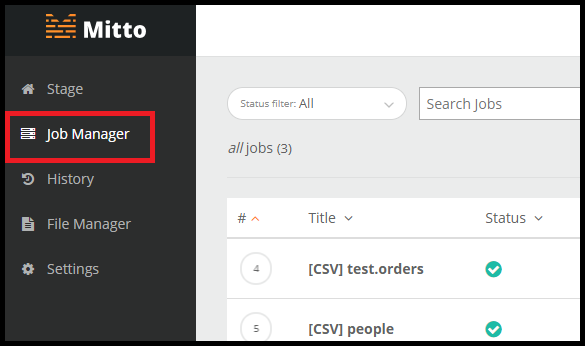
What is the Jobs tab? The Jobs tab houses all jobs that you have added.
Read more about How To Add a Job to Jobs.
Let’s explore the different sections of the Jobs tab.
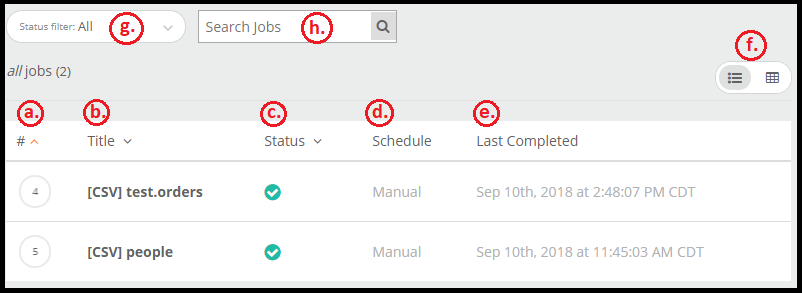
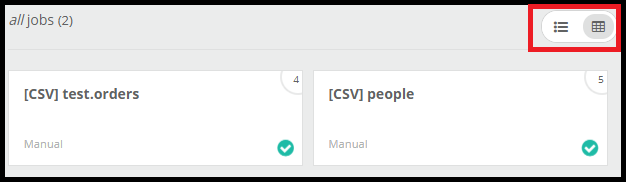
a. Number of the job instance you have created. Mitto keeps a running track of how many jobs you have created. For example, in the screenshot above, I have deleted jobs 1, 2, 3 but as I add on more jobs, this count continues.
b. Title of the job that you designated while adding the job
c. Status of the job. The check mark indicates that the job ran successfully. For more information on what each symbol means, see below in g.
d. Schedule of the job. The schedule is set in the process of adding the job. See How To Add a Job to learn more. The schedule can also be set within the job itself. See Job Details.
e. Last completed column shows the date and time of when the job last ran.
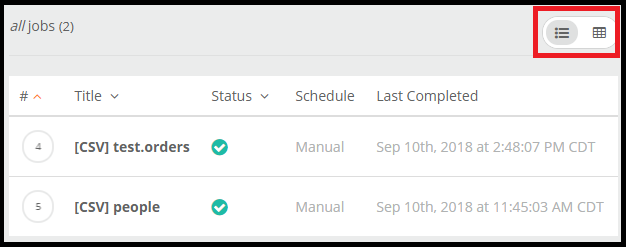
f. Click and toggle this button to change the view of your job. One view lists out your jobs while the other view shows the jobs as objects. This does not change the function of your jobs.
- g. Filter the jobs by their status.
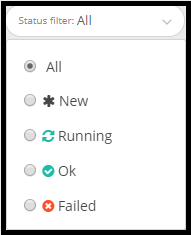
- All: Shows all jobs
- New: Shows jobs that are newly added and have not been run
- Running: Shows jobs currently running
- Ok: Shows jobs that ran successfully
Failed: Shows jobs that did not run successfully and failed
h. Search for the name of your job here
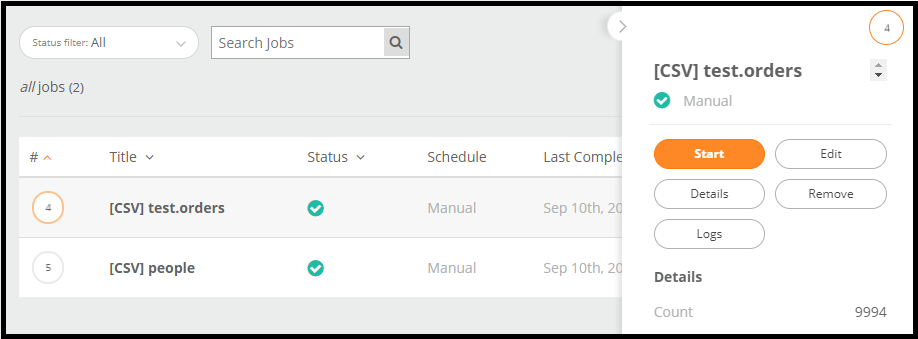
Click on the job itself to open up a window of actions that you can perform on the job. For more information on what these actions do, visit the Job Actions page.