Scheduling your Job
Click on the Job Manager on the left hand side of your screen.
Select the job you want to schedule and click on Details.
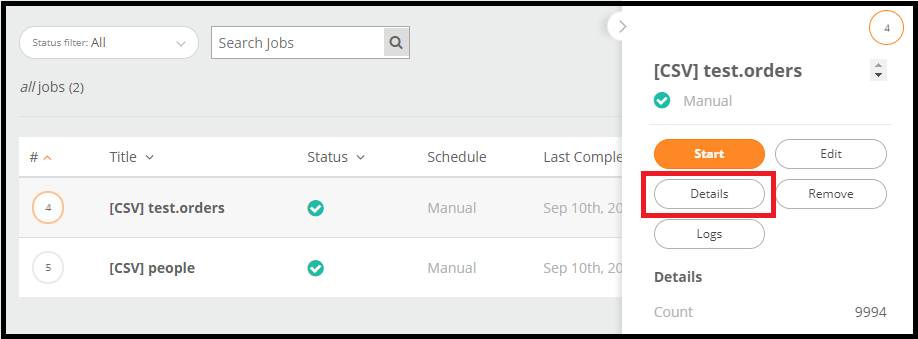
On the next page, scroll down to the Settings section. Under the Schedule portion, the default schedule is set to Manual, which means this job will only run when you tell it to run. Click on the pencil next the Manual to open up the selection of how often you want this job to run. Learn more about what Timeout and Notifications are here.

A pop up appears giving you options on how often you want your job to run.

- Daily: Choose a time at which the job will run daily.
- Hourly: Choose at what part of the hour you want this job to run. Ex. If you choose 15, the job will run at 1:15pm and again at 2:15pm, ect. If you choose 30, the job will run at 1:30pm and again at 2:30pm etc.
- After: This shows a list of jobs that you currently have in Mitto. This option allows you to schedule your new job after the selected one is run. For example, if you choose the After option and choose 5: [CSV] people, the job you are scheduling will run after 5: [CSV] people runs.
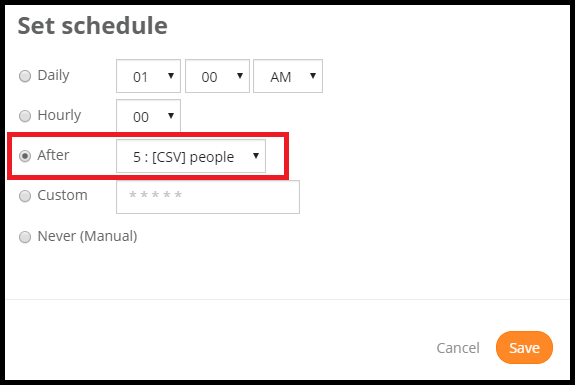
- Custom: This is more of an advanced feature that is using CRON logic. For more information on CRON logic, click here.
- Never (Manual): This is set as default.
After you have made your selection, click Save. Congratulations! You have just scheduled your job.