CSV
By adding this CSV file to your Mitto instance, you will see this CSV file as a table in a database with Tableau.
1. Navigate to your Mitto instance: (instance name).zuarbase.net
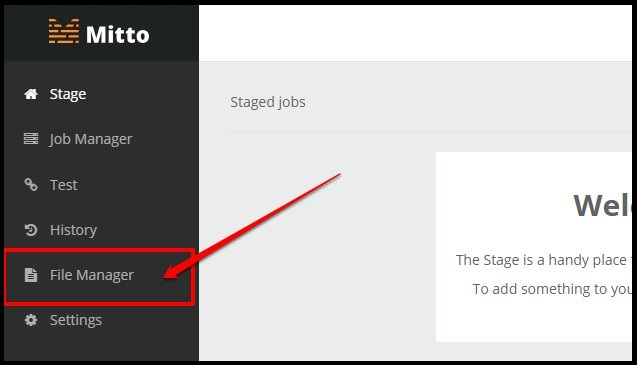
2. Select File Manager on the left hand side of the screen. Read more about Files.
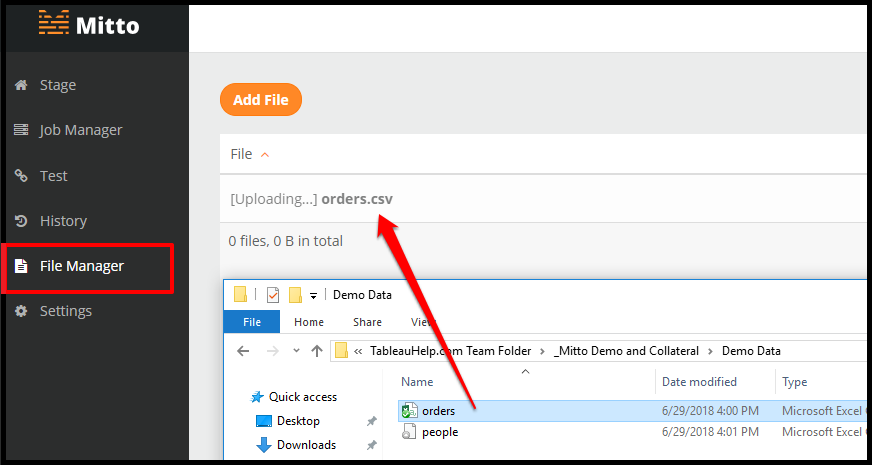
3. You can either select Add File or drag/drop your CSV file into File Manager. The file is now available to create a table from the CSV. Read more about adding files to File Manager here.
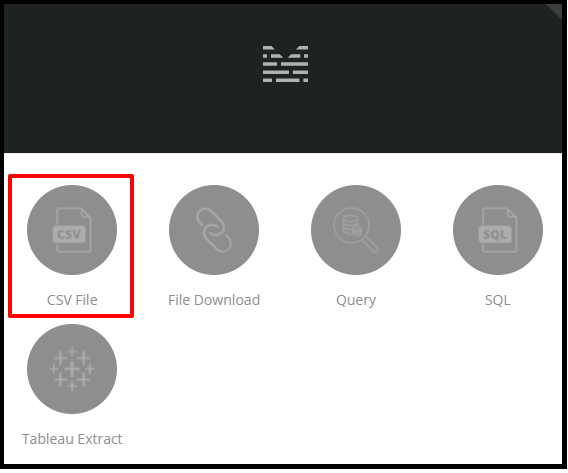
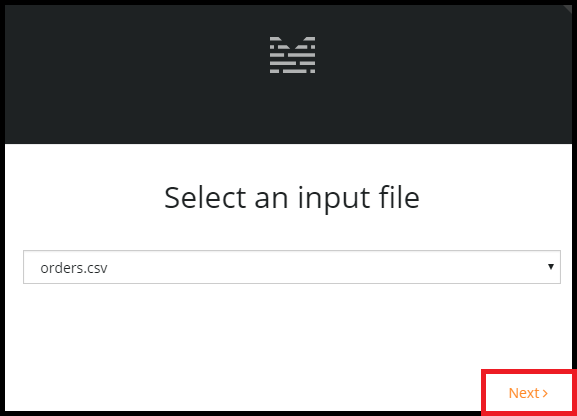
4. After adding the file to File Manager, you are now going to create a job from this file. Navigate to the bottom left of your screen and select + Add. Click on CSV File.
5. Select the CSV file you just uploaded from File Manager and click Next.
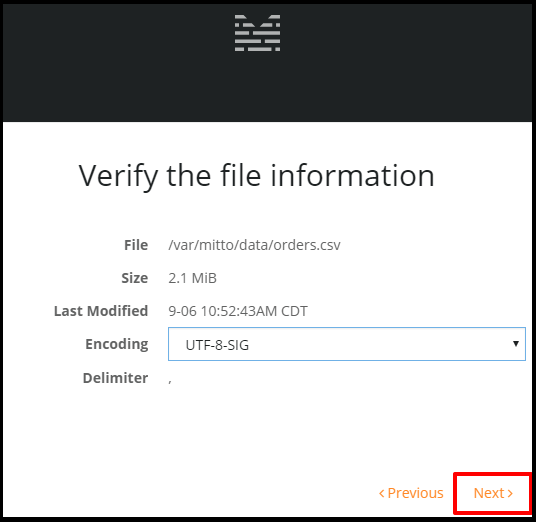
6. After clicking Next, you are taken to the ‘Verify the file information’ screen. Mitto samples the CSV file and chooses a default encoding and designates a delimiter. No change needs to be made here unless explicitly told to do so. Click Next.
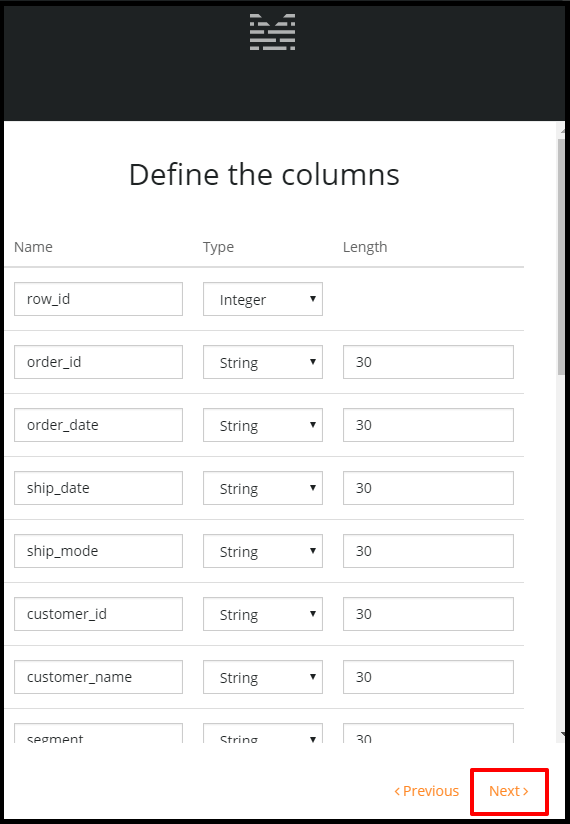
7. In the next screen, Mitto takes a sample of the data and designates a data type for each column in the CSV file. Notice that columns can be removed or added as well here. Read more about this section here.
Click Next.
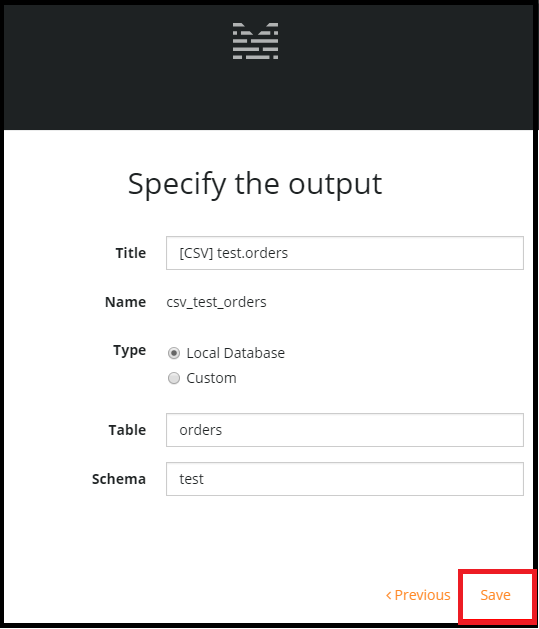
8. Specify the output and define the name of the job and a table in the database.
- Title: [CSV] schema.table (ex. [CSV] test.orders)
- Type: Local Database
- Table: table (ex. orders)
- Schema: Schema is an organization or structure for a database and is important in data modeling. (ex. test)
Click Save. This job now exists in Mitto.
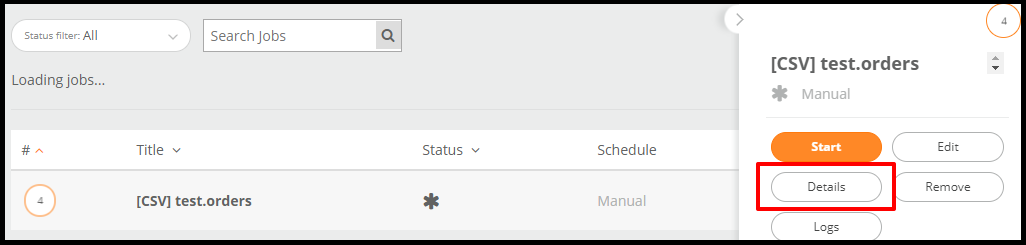
9. Select the job and select Details.
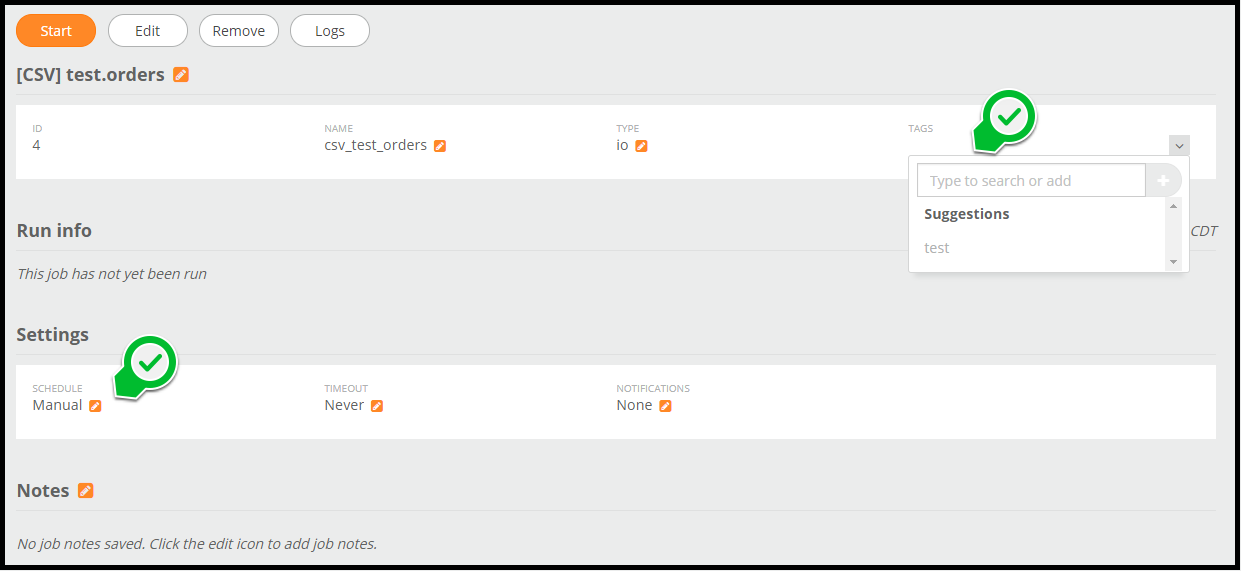
10. Notice the Tags on the far right. You’re able to assign tags to your job to organize them in the navigational bar on the left. Learn more about Tags here.
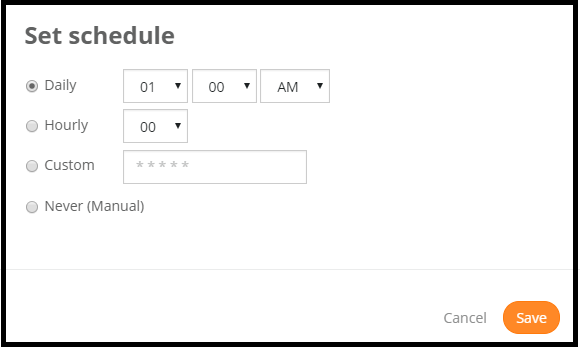
Under Settings, you can schedule your job. Click here for more information on scheduling a job.
11. Select Start and then Run.
Notice the History section at the bottom of the screen. This will inform you when the job is finished running. The Run Info provides more information about the job.

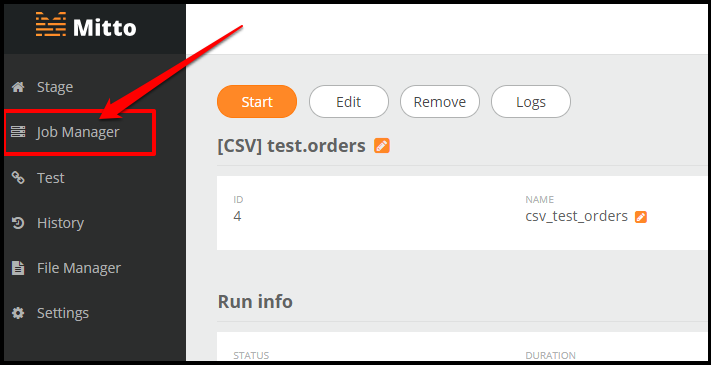
12. Click on Job Manager on the left navigational bar. This show a summary of the job.
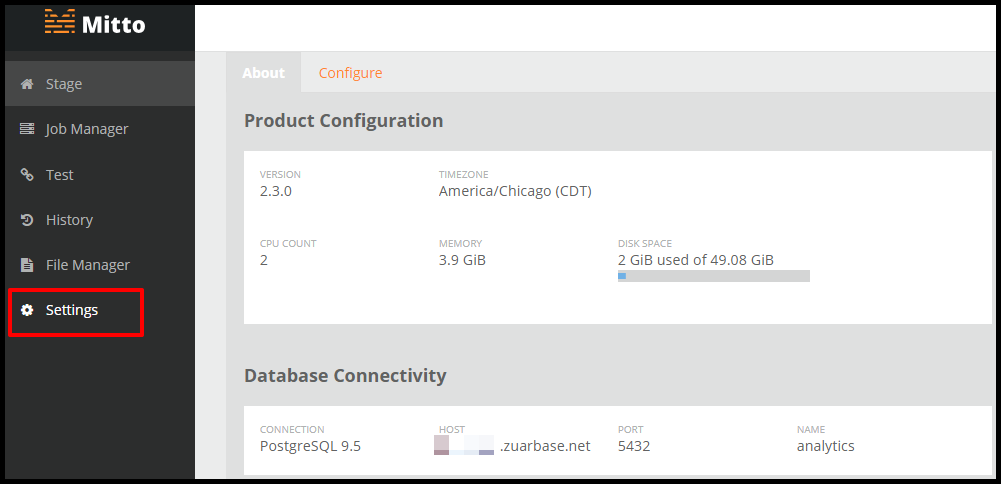
13. Now select Settings.

Notice the Database Connectivity section. You will need to refer back to this section when connecting the data in Tableau.
- Connection: PostgreSQL 9.5
- Host: (instance name).zuarbase.net
- Port: 5432
- Name: analytics
Let’s take a look at this CSV file in Tableau.
1. Open Tableau Desktop.
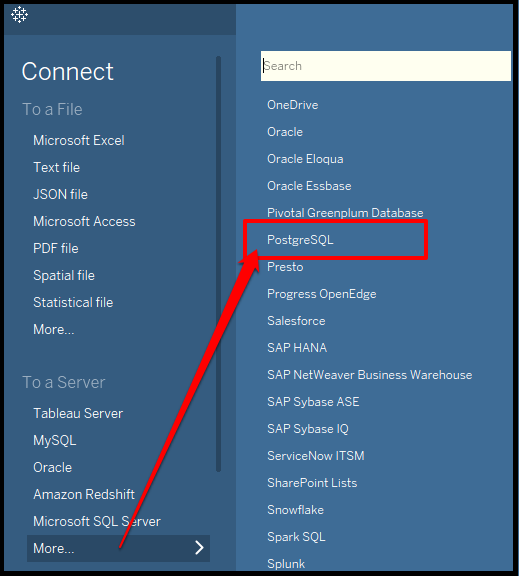
2. Under the Connect: To a Server, select More. Click on PostgreSQL. Note: You are connecting to the PostgreSQL server because this is the database that Mitto is associated with.
3. Fill out the prompt. Note: See Adding a CSV File to Mitto Step 13
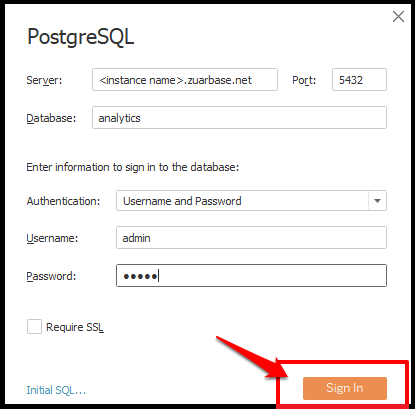
Username and password are the ones you used to login to your Mitto instance. Click Sign In. Once you are signed in, you will see all the tables that exist in this database.
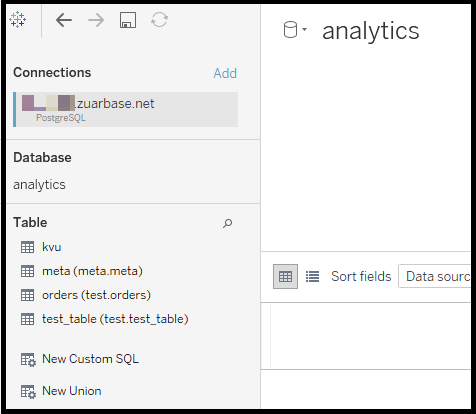
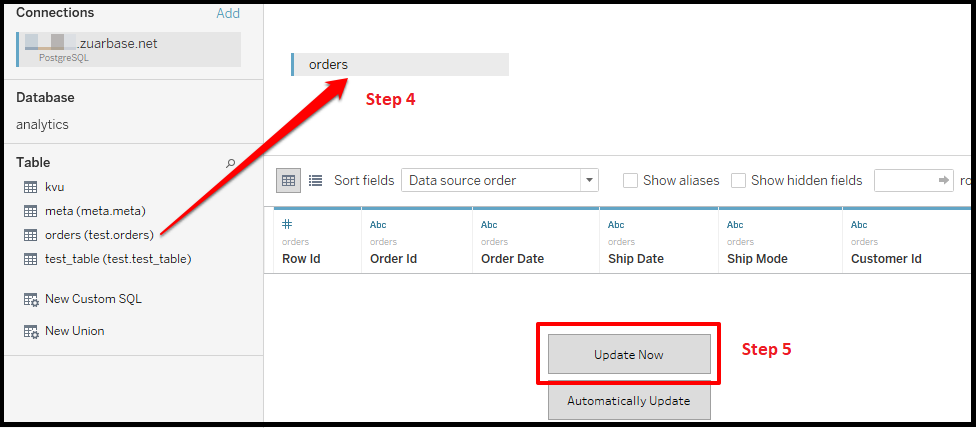
Notice the orders table in the test schema. (e.g. test.orders)
4. Drag and drop the test.orders table over to the right hand side of the screen.
5. Select Update Now.
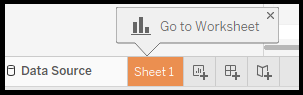
6. Select Sheet 1 and begin building your visualization.